How to enable 2FA for users
Two factor authentication (2FA) is a security measure which can be practiced by users to provide greater protection to their online accounts from malicious attack. This is achieved by requiring users to provide another piece of information besides a password or PIN, such as biometric data or physical possession of a token or ID card.
The IntelliMed platform provides a simple process for setting up and using 2FA for its users. This guide demonstrates the steps required to enable 2FA for a user.
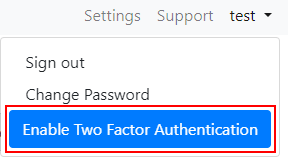
1. Click on the user name
The user name is found in the navigation bar, located in the top right of the screen.

2. Click on "Enable Two Factor Authentication"
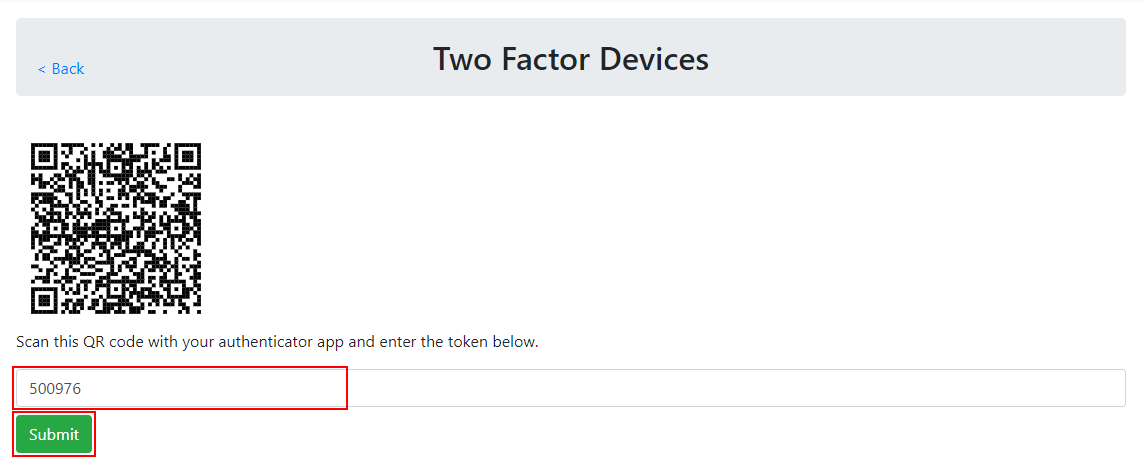
3. Scan the QR code
Scan the on-screen QR code with an authenticator app on your smartphone.
If you do not have an authenticator app on your smartphone, some popular options include:
4. Enter the generated token
Scanning the QR code will add the current IntelliMed user to your authenticator app, and generate a corresponding token. Enter this token into the entry field in IntelliMed.
5. Click Submit
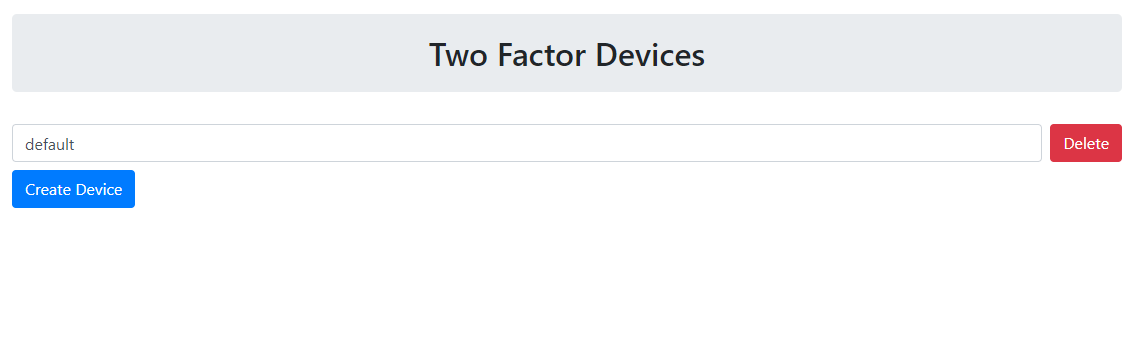
6. Setup complete
The user is now set up to use 2FA when logging into IntelliMed. This newly registered 2FA device can now be seen on the Two Factor Devices screen.
To rename a device, simply change the "default" name provided by default in the text box.
To delete a registered 2FA device, simply click "Delete" on this screen. Also remember to delete the corresponding IntelliMed user from your authenticator app.
To register an additional 2FA device to the account, simply click "Create Device". This will ask you to provide a name for the device, and then follow steps 3-5 again.